Installing Ubuntu per minimal image to PC engines APU2
This is the company: PCengines
This is the device: APU2
nullmodem setup
using putty
Check which com port, mine was set to ‘com4’
Get a usb to serial converter, install drivers. Some of those converters seem to have timing problems, but i did not encounter that.
I once tried lowest baud rate 9600 and that produced some nice screen carnival, but nothing really legible.
prepping usb stick
Download usb prep tool ‘TinyCore USB Installer’ and run it against on usb, i’ve used an 8GB stick, make sure it’s not the slowest
To try out you can now boot into TINYCORE. So put this into the APU2’s usb port and boot up having the serial nullmodem cable connected and the putty session open. Finished boot is indicated by an audible beep. This is good to check the serial connection which you should have established parallel to that.
If you want to keep the option of booting into TINYCORE open, backup the syslinux.config fom the USB’s root directory, as this one will be overwritten by the package content we are now downloading.
Download special ubuntu package from pcengines, unpack and move the three files into the usb root folder / or :/ depending on your system.
Now plug in the usb into the apu2 and boot having the serial nullmodem cable connected and the putty session open. You will see the setup menu, similar to this screen shot:
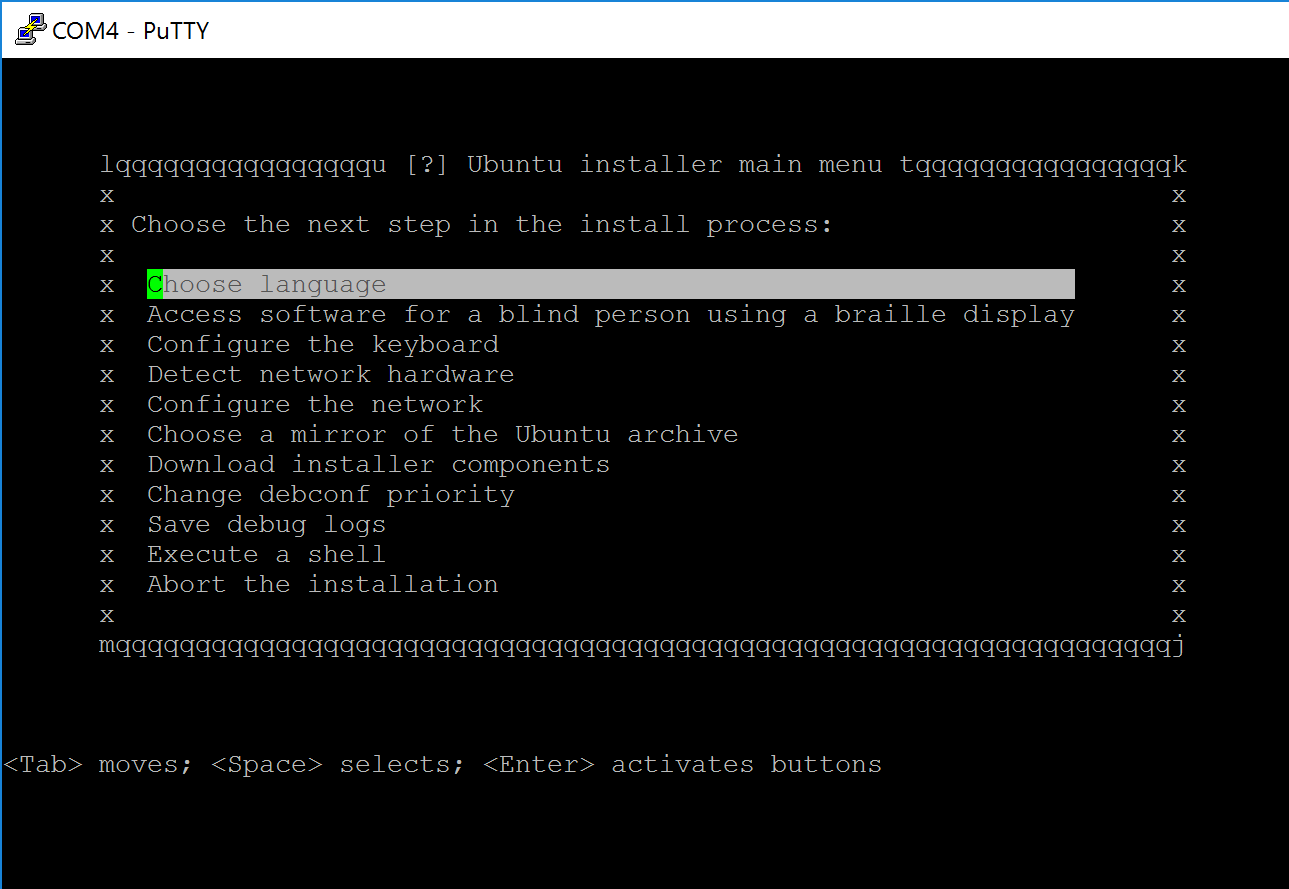
The terminal setup process seems daunting at first, but it essentially is really analogues to the graphical ubuntu installer. I found my way around by basically following the Easy Path(tm) of most of the suggestions of the installer, going automatically step by step through the menu. On some of the sub menus i was able to make some educated changes as i knew a bit of more details and i had a good idea where i want to go with this system, but this might not apply to you.
The one exception was the network configuration. running the automatic network detection seems to have got the dhcpd info , but when i dropped into the busy box ash shell environment (one menu option Execute a shell in the main hierarchy at the beginning of the installation process), i had to run dhclient directly on the interface again. Checking via ip addr i now could verify the indeed applied values, and could ping any public server. With exit i dropped back into the installation menu. On a later second setup run this problem did not occur again.
I chose no automatic updates as i can see the cronjob using quite some resources. I’d rather manually schedule that for this particular system at them moment. Part of the minimum running service policy of mine for this instance.
I followed some tip regarding the bootloader installation, and it apparently solved my problem of an unfinished installation before. I lost the link, but it boiled down to manually enter the first partition of the setup target (pcie flash device in my case), so that was /dev/sdb1 as opposed to /dev/sdb. Again, this might be different for you.
Once that was done, and with a bit more patience i rebooted and eventually login via ssh could be established. I then halted the machine, physically unplugged the usb key and the console, and replugged power.
After about 45 sec ping answered and after than ssh came back online.
Hey! I'll happily receive your comments via email